After reading about steam baking on Canoe Country, I decided to try my luck at it. This page describes the process I used, and how it turned out. This method of baking actually works pretty good, and bakes some decent breads.
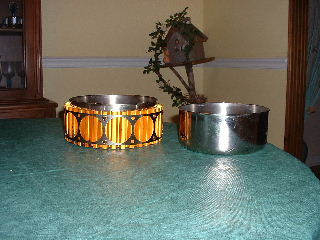
Step 1
Make sure your cook pots will stack inside one another. You will also need a lid that will cover the larger pot. I am using MSR Alpine Gear here with a heat exchanger. I'm not sure if it helps, but I think the heat exchanger might help the sides bake a little better.
Step 2
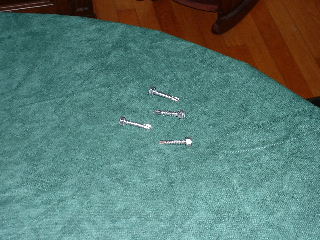
You will need some small pebbles or something to make space between pot 1 and pot 2. I used these 7/16 Bolts. They seemed to make a pretty good spacer, without taking too much "headroom" from the larger pot. Remember, you need to be able to get the lid on the larger pot with the smaller pot inside.
Step 3
Testing the fit with the screws in the bottom of the pot. This works pretty good. With the screws, the distance between pot 1 and pot 2 is about 1/2 inch. Plenty of room in the home testing that I have performed.
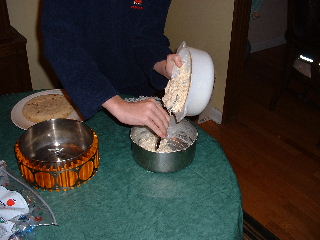
Step 5
Mixing the test batter. Some of these steps have been included for clarity, but could have probably been left out. I have tried 2 different mixes. Martha White mix that calls for milk work GREAT with powdered milk. Bisquick mixes that call for water also work pretty good, but tend to stick to the pot a little, and crumble when removed.
Step 4
I used butter to grease the inside of the baking pan.
BE SURE NOT TO SKIP THIS STEP..........
If you skip this step, you will be left with a very messy pot, and lots of stuck bread.
Step 6
Place the bolts, or rocks, or pebbles, or whatever you use for spacers in the larger pot, and fill with about 1 inch of water. Watch the water level. If you boil all the water out of your pot, it will burn the bottom of the bread you are baking.
Step 7
Cover the inside pot with aluminum foil, and place inside the larger pot. I'm not sure the aluminum foil helps or not, but I think it makes for a less "soggy" final product.
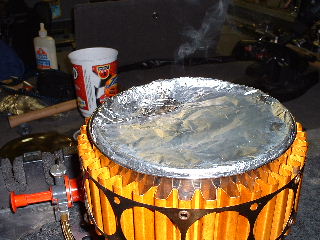
After placing the aluminum foil on the inside pot, cover the outside pot with your lid. Make sure the lid fits tight........You might need aluminum foil around the edges.
Step 8
Boil........or should I say BAKE. I had to bake this for about 20 minutes using my Whisperlite stove on full blast.
BE SURE TO WATCH THE WATER LEVEL.
If you boil the water out, you will BURN the bottom of the bread. A good way to check the level is by the sound, and the steam escaping.
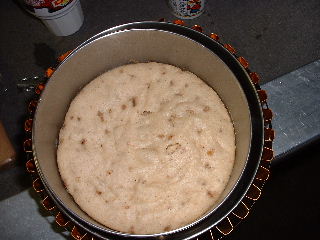
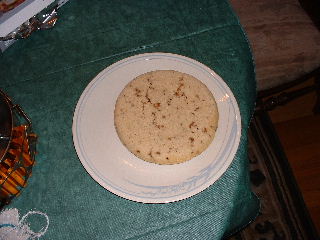
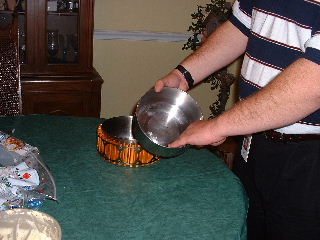
Step 9
After baking for 20 minutes or so, your bread will look like this.......It does not look done.
If you stick a knife in a couple of places and it comes out clean, then the bread is done.
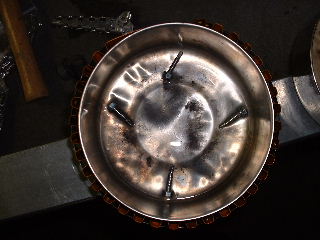
Be careful removing the inner pot, as it may still be pretty hot. Also, be aware of steam still escaping.
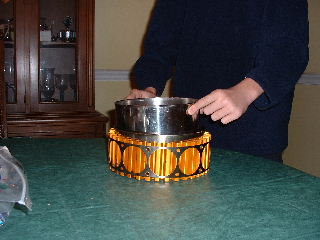
Step 10
The final product. This actually is pretty good. It passed the kid test and the wife test.
This is the 3rd item I have baked using this method. The first I burned, the second turned out soggy, and this one turned out pretty good.